Written by Jeff Hare, Tradewinds Instructor and Emerald Sea Owner
Living in the Bay Area we take the Golden Gate Bridge for granted. We casually (and perhaps automatically) glance up at it during our daily commute and it’s presence gives us reassurance, confidence, sense of community, and even a feeling of contentment – this monument is recognized the world over and is uniquely ours. It serves as a convenient container that that we, mostly, stay on the east side of and rarely, if ever, venture beyond. This bridge is truly a portal through which we have access to the world. Going under it excites persons in this realization, and his is exactly how the crew of Emerald Sea felt on November 20, 2023 when we passed under.

Let’s rewind a little bit to our departure planning. As we had never conducted such an extensive journey there were a few chores and considerations necessary and will itemize those here:
Crew Selection: This is a fine art and I would recommend several local overnight runs with your proposed crew before tossing them all in a confined space for a long period of time. Personality traits of your crew that seem minor during short hauls might become more pronounced over long periods of continuous exposure. Make sure your crew is used to and able to tolerate each others traits. Secondly I would recommend each crew member take time to understand their own body’s reaction to the rolling sea, possibly being constantly cold or wet, and take steps to build up a tolerance.
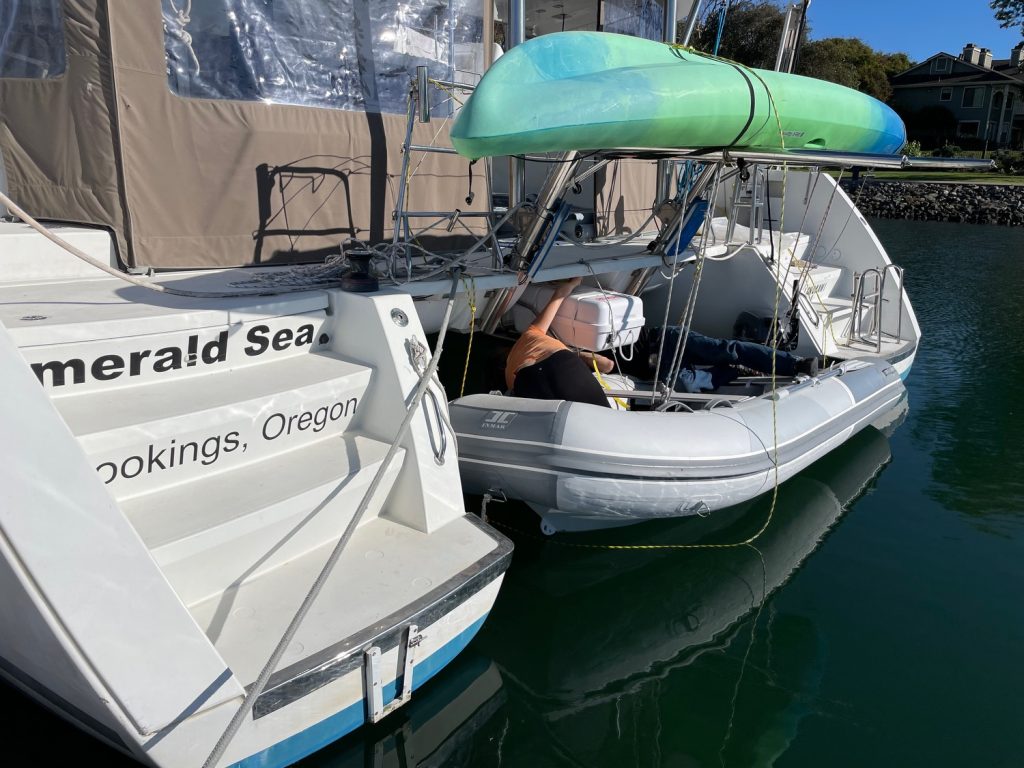
Life Raft: We needed a new Life Raft as these things have a well documented shelf-life and the previous one had expired. Selection of a life raft carries several criteria including available storage space, typical cruising crew size, project distance from shore and expected time to rescue – the cost of rafts vary dramatically! For Emerald Sea there is a convenient out-of-the-way life raft carriage at the stern near the dingy, so thankfully the new raft was a similar size and fit nicely. These things are surprisingly heavy so thank goodness we had strong friends.
Ditch Bag: Opinions regarding the contents of this survival kit vary dramatically. We agree they should be updated at least on an annual basis. In addition to life-prolonging and comfort items, we recommend some technology devices: A waterproofed solar charger for your phone, flashlight, and rechargeable VHF radio along with a waterproof phone case. A water filter. An extensive hand-line fishing kit. While some people prefer collapsible drink cups, we feel a few of the ubiquitous red solo cups a very capable option – these can be packed with absorbent cloths and even a small first aid kit and wrapped in plastic wrap to seal them. Gravity fed water filters are common now and while will not last long, will likely last long enough. We cycle high-protein food bars available over the counter and replace them when the freshness date approaches.
Documentation: DO NOT attempt to enter Mexico with incorrect or incomplete documents – we have observed vessels being turned away. When you enter Mexico there will be an extensive “check in” process at the port of entry (most commonly Ensenada in the North or Chipias in the South). Once inside Mexico vessels must “check out” within 48 hours of departure and “check in” within 48 hours of each point of arrival (if you stay at a location for less than 48 hours, or anchor at a location without a Customs Office this is not necessary, but it should be noted on your prior check-out document – we will get into this process later).
We recommend you are prepared with photocopies of all of your documents as the staff appreciates this and it will make the process faster. Also when you complete and submit any forms it is recommend you keep copies of that – I just took cellular phone photos and put them in a photo folder as this was quick and easy.
Documents required for the check-in to Mexico include:
1. Passports for all crew members. It is interesting to note that persons entering Mexico by aircraft are granted only a 15 day visa. Persons entering by boat are granted a 6 month visa. If a person having entered by boat departs the country by aircraft and returns, their 6 month visa resets to the arrival date by aircraft.
2. Vessel Documentation.
3. A valid TIP (Temporary Import Permit). This permit must be applied for and granted in advance of your arrival. It must include the hull number of the vessel as well as any tender associated with the vessel (make SURE the hull numbers are correct and also that the Vessel Documentation number on the TIP is the same as on your documentation). As of this time, the TIP for a boat is valid for 10 years.
4. The Skipper must complete a form provided by the port that summarize the vessel, the sail plan, and expected departure from Mexico date – the port keeps this copy and the vessel should keep a copy and have this available for the next port at check-in.
5. Mexican Insurance: This is not your vessel insurance. The Government of Mexico requires additional insurance coverage while traveling there. This can be applied for online at Baja Bound Insurance Services.
6. Government Agents may inspect your vessel so be prepared. If they elect not to, thank them and get on with your day.
We chose to check in to Mexico at Marina Coral which also conveniently has a fuel dock. While expensive (even by Bay Area standards), the staff at this marina is extremely efficient and helps you through the processes including a ride to the Customs office. We give gratuities generously as this can be a lengthy process if you are not at least conversational in Spanish.
Check in and out with the Port Captain:
Each time you leave a particular port, Ensenada for example, you need to find the Port Captain and check out. This will again require the passports of all crew members (especially if you have added or perhaps a crew member has left), vessel number dates, sail plan, and next port of arrival including the date you plan on getting there. You should retain a copy and the original will stay with the port. When you arrive at the next port, present them with the check-out of the previous port also. As noted earlier, not all ports have photocopy capabilities so while you must present originals, having photocopies to leave with each port is helpful.
Finally people spend a lot of time trying to figure out how much and what type of cash to bring. In the more touristy cities, credit cards are widely accepted touristy spots and prices may even be posted in dollars (Ensenada and Cabo). In more remote areas however Pesos are required. ATM’s are readily available in the larger towns and I recommend these be taken advantage of when available so you have the cash when in smaller towns. Just like the United States, make sure you use a well known bank and pay attention to the ATM for any thing that does not look normal – even wait to observe locals using the machine first. ATM Machines will typically charge a transaction fee: anywhere from $30 pesos to $200, and will probably display an exchange rate and ask you to agree. If the exchange rate is not favorable, decline that option and the ATM will withdraw from your bank in pesos, whereas your bank will perform the exchange (you won’t know what that is until you get your statement.- I have mine configured to send a text-message for any withdrawal). Normally, American Banks use a better exchange rate than the Mexican banks, so make the best decision for you.
Make sure you have enough cash in Pesos for the smaller towns. In Bahia Tortuga you will need Pesos to buy food, fuel, and provisions.
