I have been accused of being the resident Tradewinds knot geek, and sadly, I think it’s probably true, however, that doesn’t lessen the importance of being able to tie certain knots. As a sailor, being able to tie certain knots is critical, possibly even life saving.
Here’s a little basic terminology for you. Knots fall into three general categories.
- Hitches are knots that attach a line to something else. For example, a cleat hitch attaches a line to a cleat.
- Bends attach lines to other lines. A great example is a sheet bend that joins two lines end to end.
- Knots (I know, this is a little weird … one of the categories of knots is knots). Knots are pretty much anything else, typically loops, binding knots, and knobs, the most common example being a reef knot, which joins the two ends of the same line together to “bind” something (like the sail to the boom) in place.
So, what knots do you really need to know as a sailor? This is just one sailor talking, however, here is my opinion, listed pretty much in the order of the frequency I use them. There are six knots that are “must knows” and a couple of other nice to knows.
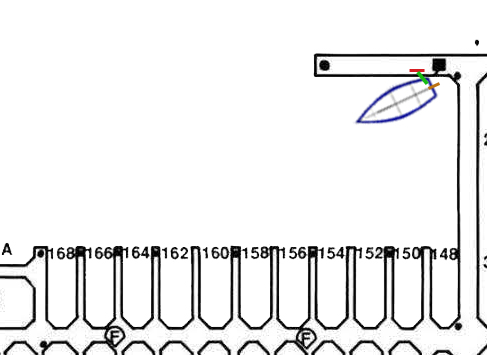
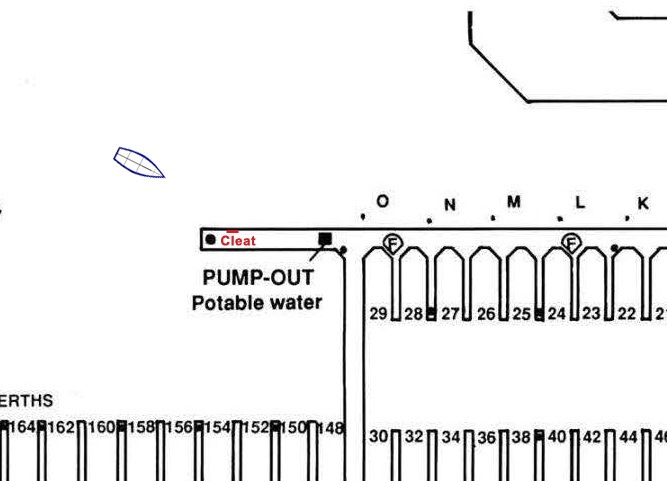
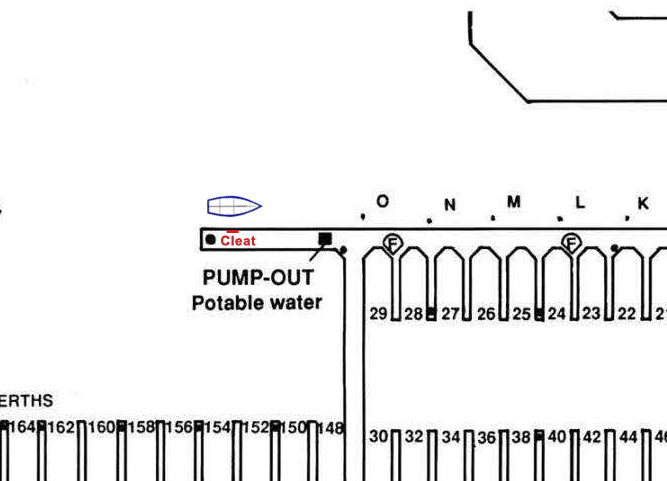
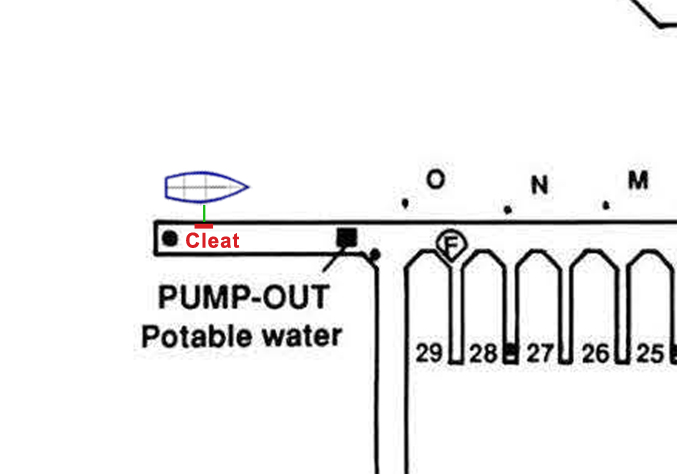
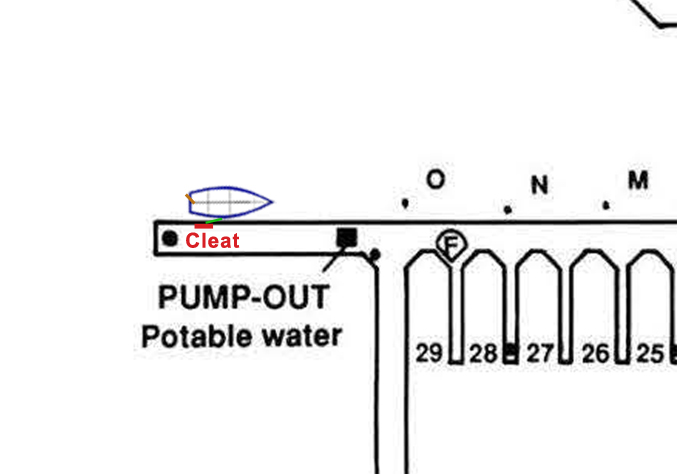
- Cleat Hitch. It’s a rare sail that I don’t tie at least one cleat hitch. Even at Tradewinds docks where we leave dock lines at the dock for most of the boats, I find myself using cleat hitches. I use them at other docks, at the pump out station, and on the boat to secure spring lines during docking.
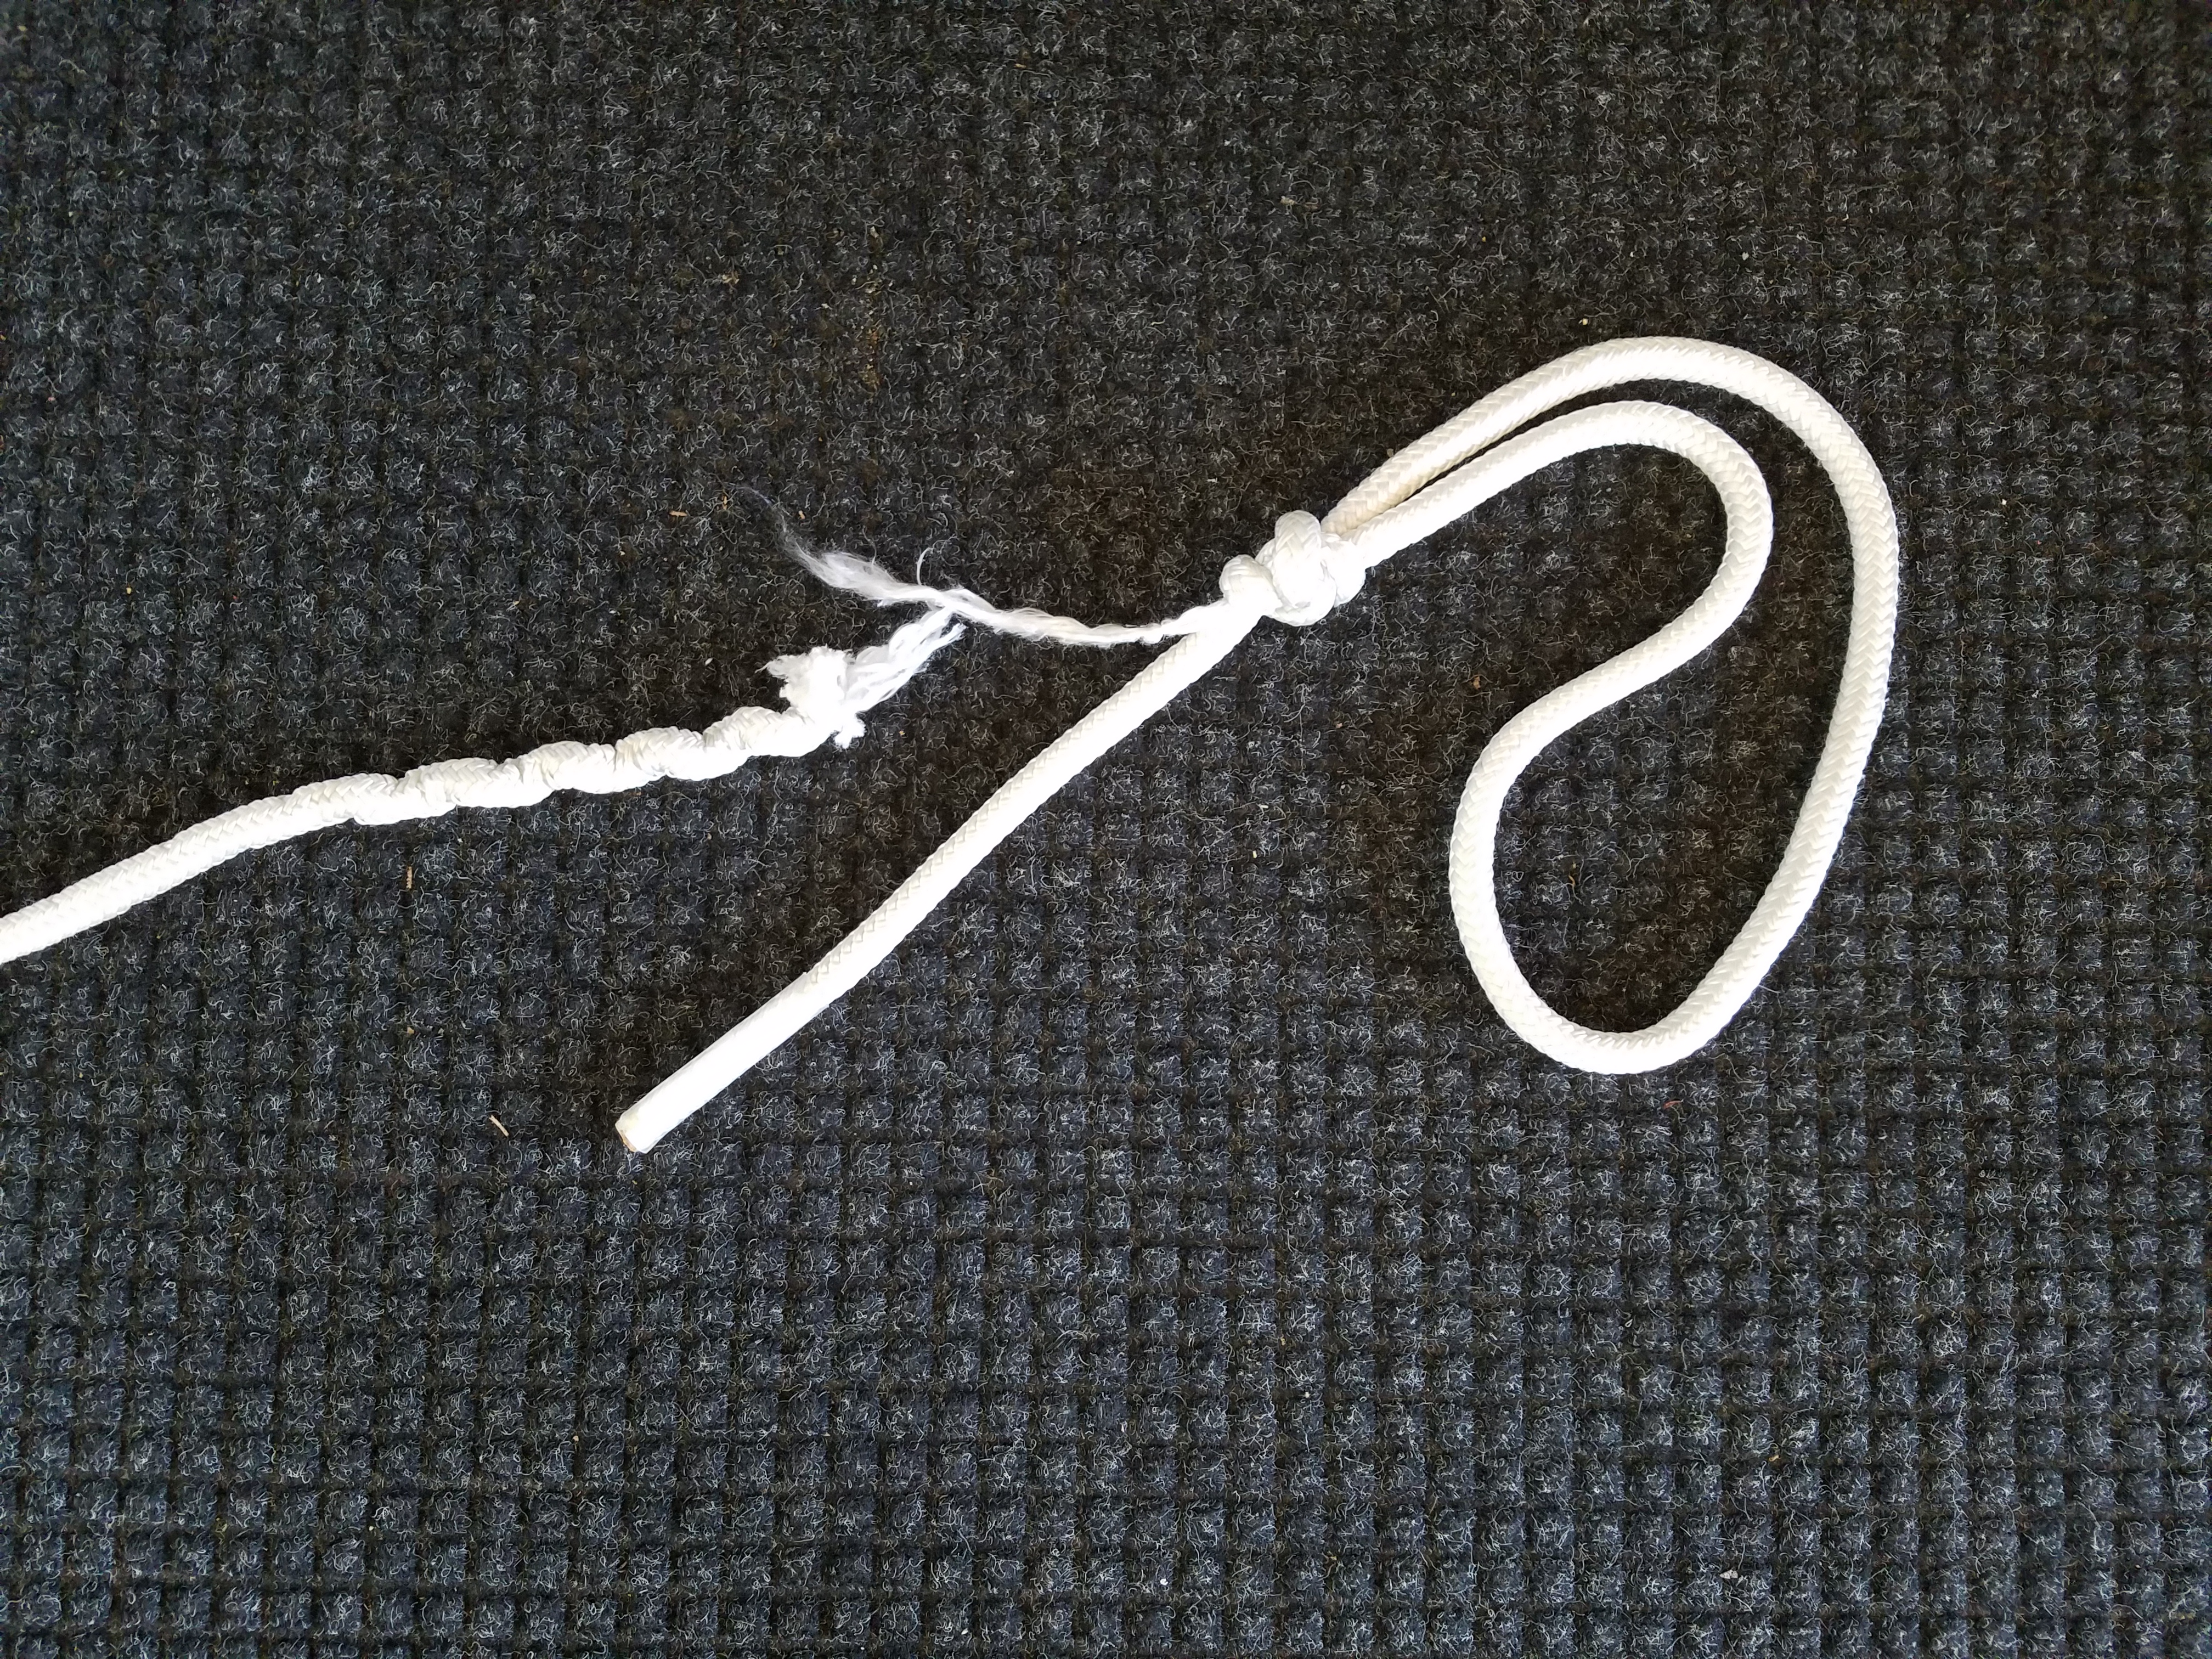
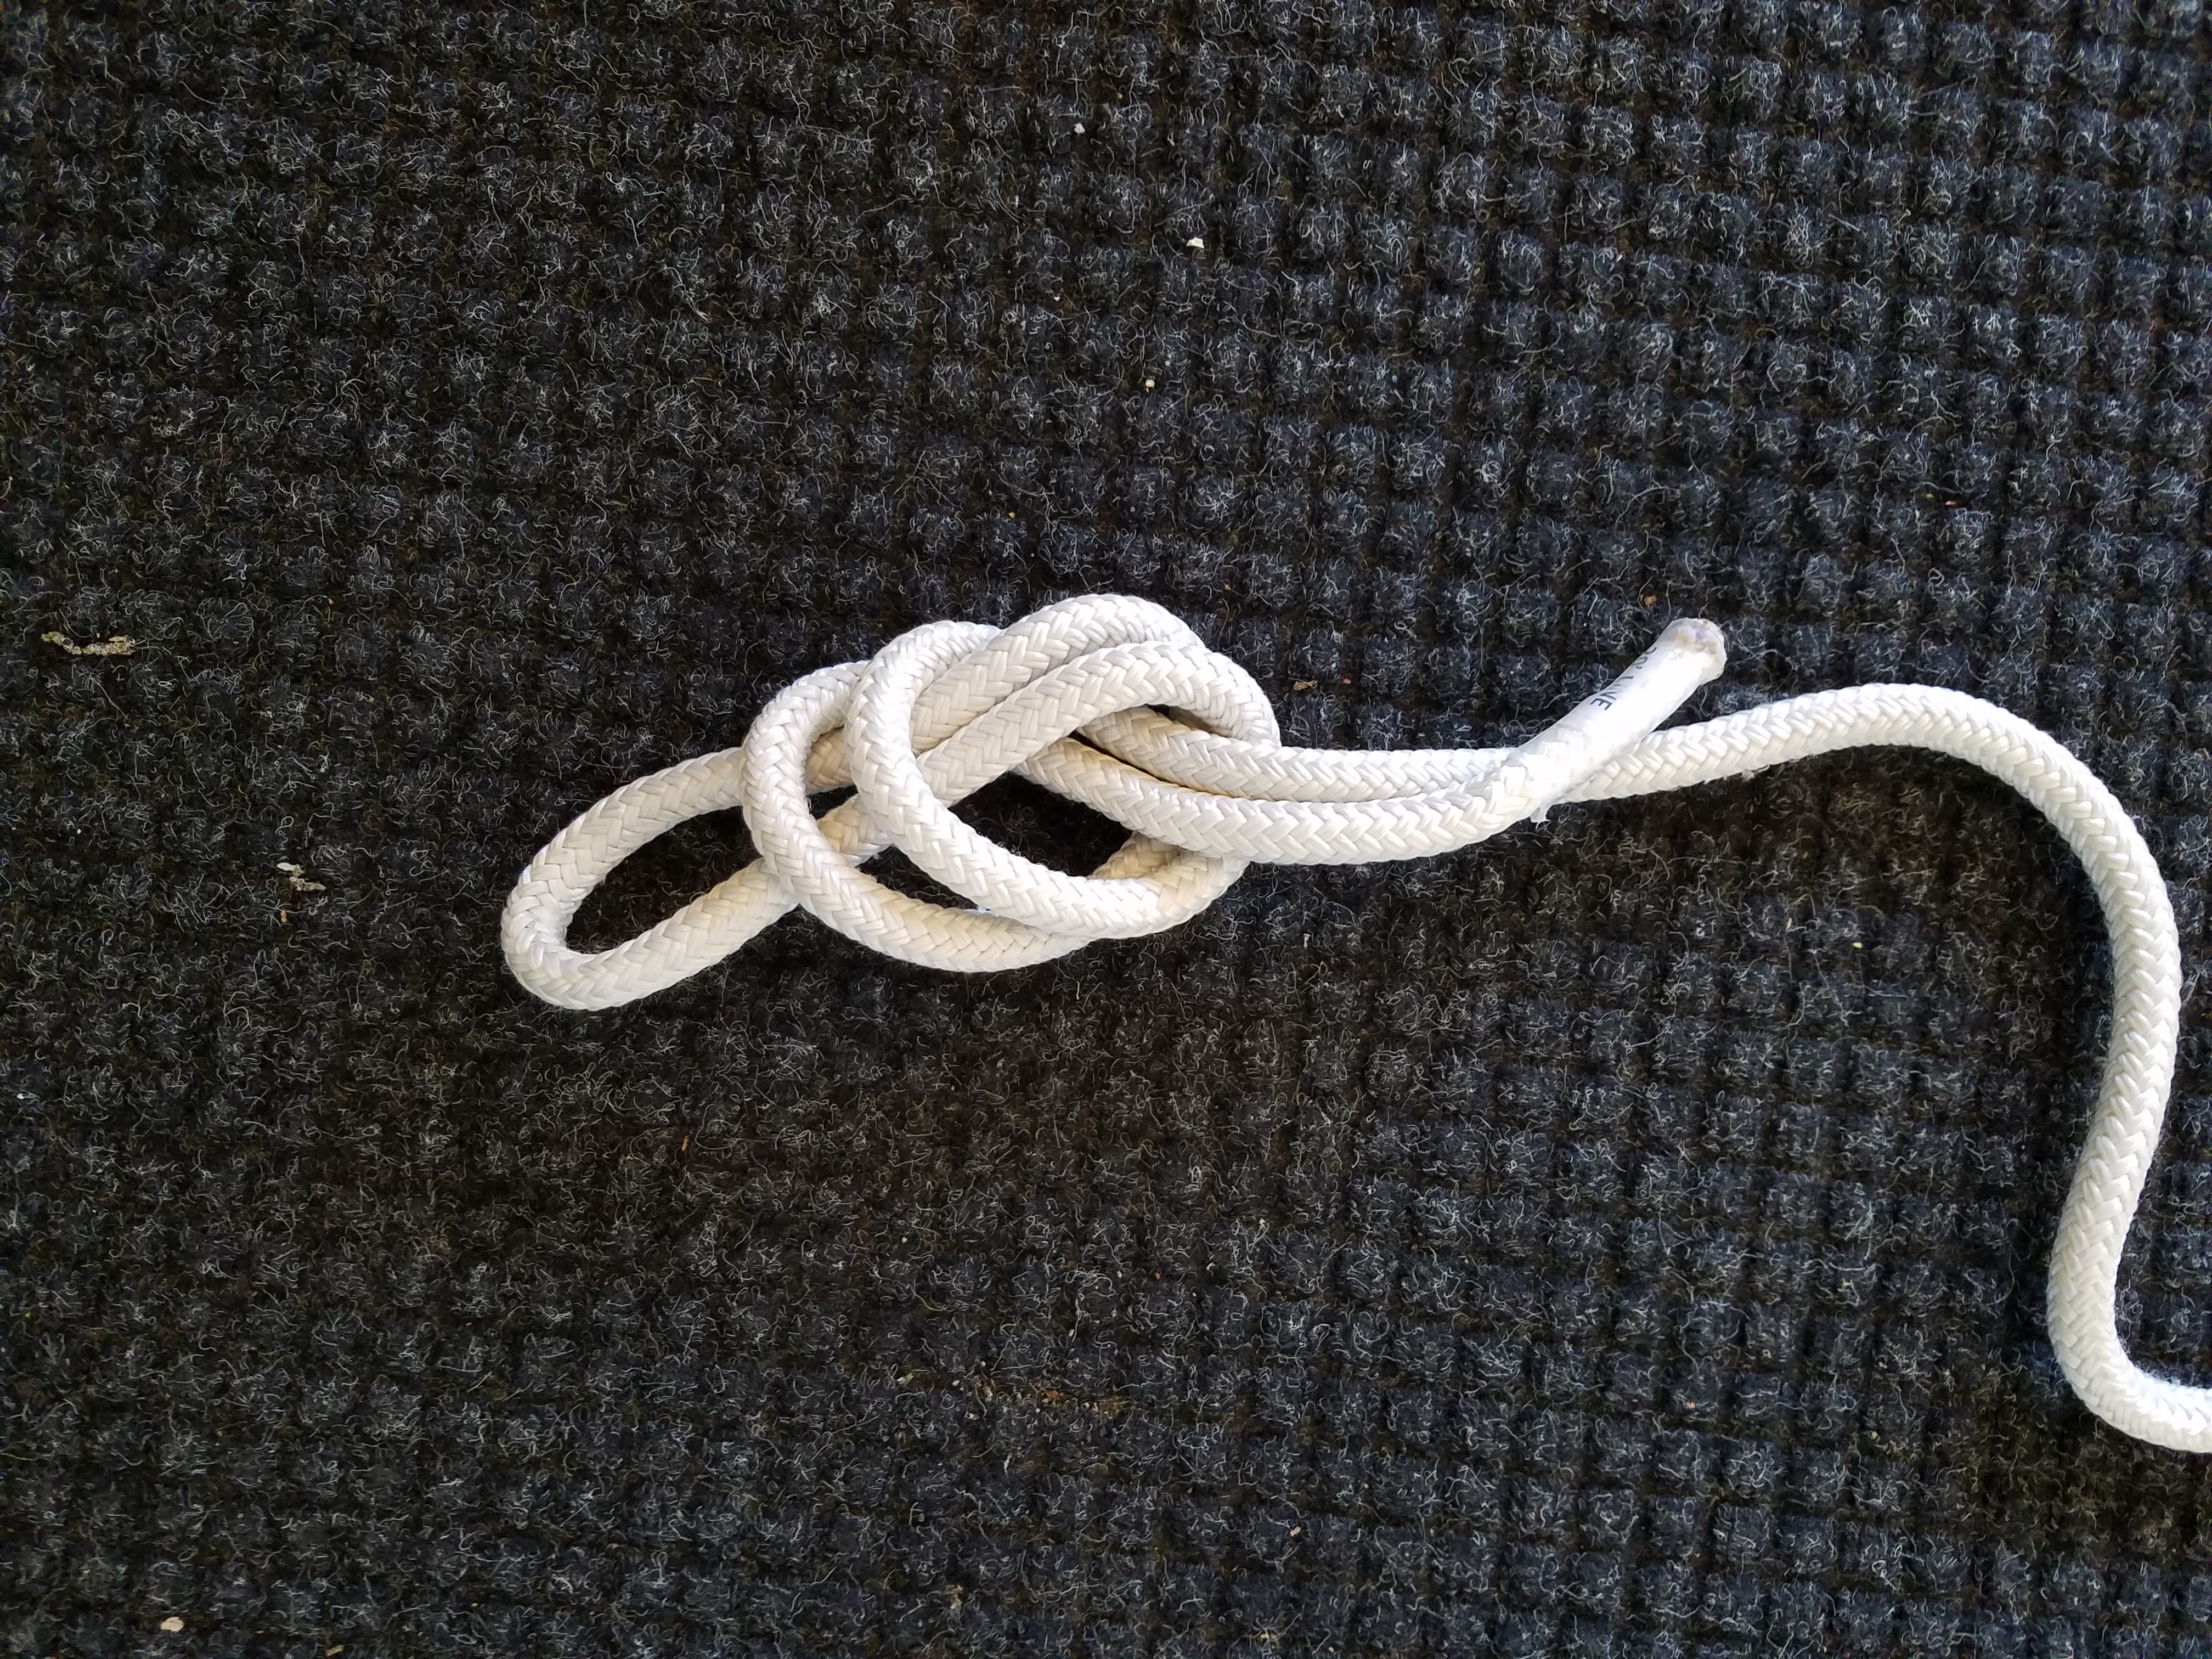
- Figure Eight Knot. This is one of those “knobs” I mentioned earlier. It puts a knob in the end of the line to act as a stopper. I’m always amazed when I get on a boat how many of the sheets and lines that need a stopper don’t have them.
- Bowline. Another knot, this in the form of a temporary loop. Practice this one a lot, because you should be able to tie it in the dark, using only one hand, while hanging upside down in a locker. You should be able to tie small loops and loops that are 10 feet in diameter (There is an easy trick to it. If you are in the office and want to know how, just ask me).
- Round Turn with Two Half Hitches. The two half hitches are the actual knot. The round turn part just means you wrap the line around whatever you are attaching it to one and a half times. This knot is invaluable for attaching fenders and hanging coils of line.
- Sheet Bend. It doesn’t happen often, but there are times when you need to join two lines together. This is the best knot to use. You can also use the same knot to join the bitter end of a line to a loop in the end of another line. In this case it’s called a becket bend, however, it’s the same knot.
- Rolling Hitch. I love this one. Don’t need it often, but when you do it might save some money. Use it to attach the end of a line to the middle of another line and grab hold so you can pull. The first time I used it, the boat’s skipper was opening a knife to cut a jib sheet that was “hopelessly” overwrapped on a winch. The rolling hitch allowed me to get enough slack to undo the overwrap. At more than a dollar a foot for line, cutting a jib sheet can get expensive. I also works great for attaching a snubber to an anchor rode.
That’s it for my “must know” knots. Some “nice to know’s” are the clove hitch, the truckers hitch, and the heaving knot. And then there are the “cool to know” knots like the Running Turks Head, Monkey Fist, Solomon’s Bar and Constrictor Knot.
If you are interested in learning, re-learning, or practicing any of these knots, stop by.